Google Pay is one of the popular payment methods that allow you to make a contactless payment using the NFC on your smartphone. As per the reports, Pixel 7 Pro users are suffering from Google Pay not working issue. When they try to make contactless payments using Google Pay, receive an error “payment declined”.
It has also been noticed that the issue occurs when trying to authenticate via face unlock. If you are suffering from the same issue on your Google Pixel 7 Pro, then try these quick fixes on the spot to eliminate the issue.
Quick Fixes
1. Use the Fingerprint Unlock To Authenticate.
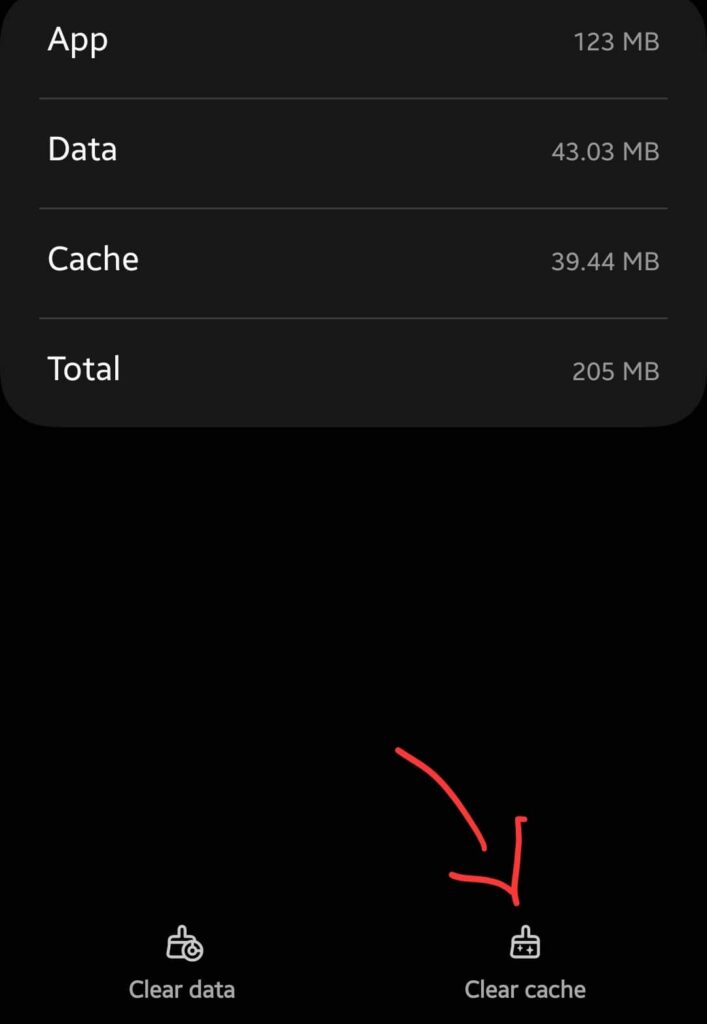
2. Clear the Cache of Google Pay.

- Go to “Settings” on your phone.
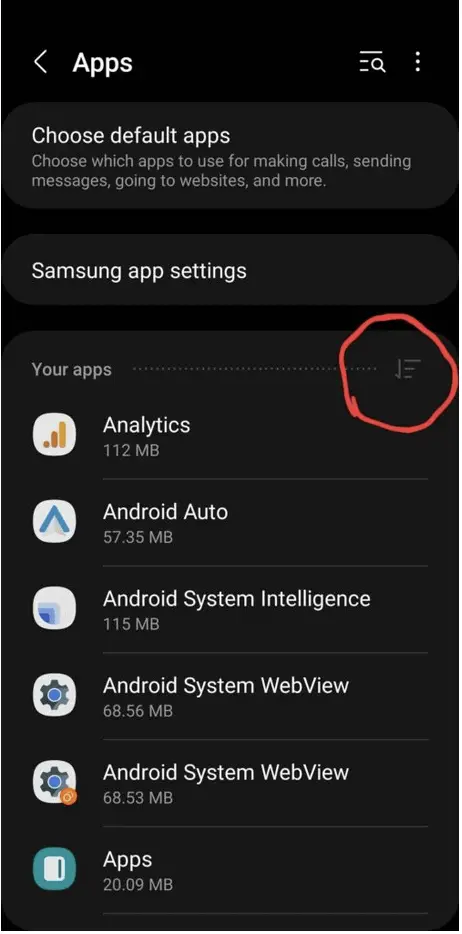
- Next, select “Apps” and then tap “see all apps”.
- Now, search for the “Google Pay” app and open it.
- After that, tap on the “Storage & cache” option.
- Finally, tap the “Clear Cache” option at the bottom
3. Update Google Pay.

- Launch the “Play Store” on your phone.
- Type in “Google Pay”.
- If any update is available, then you will see the “Update” button.
- Simply, press the “Update” button to download and install the recent updates.
Google Pay Not Working on Pixel 7 Pro
Google Pay is an NFC-supported app that provides contactless payment. While having issues with the Google Pay app, you should also consider the NFC settings on your smartphone. There is also a high chance that Google Pay might not work due to misconfiguration in NFC settings.
- Choose Google Pay as Default Payment Method
- Reboot your Phone
- Update the Phone Software
- Verify Your Information on Google Pay App
- Uninstall Google Pay
- Perform Factory Data Reset

Choose Google Pay As Default Payment Service
If Google Pay is not selected as the default payment service while using NFC, then it might lead you to an unsuccessful transaction. The reason is, there might be multiple other NFC payment apps available on your Google Pixel 7 Pro, and you might have selected other app as your default payment method instead of Google Pay.
To eliminate this issue, you should select Google Pay as your default payment service while using NFC. Here’s how you can change the default payment service in NFC settings:
How To Change Default Payment Service in NFC Settings on Pixel 7 Pro?
- Go to “Settings” on your phone.
- Next, tap on “Connected devices” and then “Connection preferences”.
- Now, tap the “NFC” option.
- After that, tap on the “Contactless payments” option and then “Payment default”.
- A list of all the available NFC apps on your phone will show up.
- Now, here select the Google Pay app as your default payment service.
- Once you select it, then follow the on-screen instructions to complete the process successfully.
Hopefully, by following the above-mentioned steps, Google Pay will start working without any issues. but in case you still face issues, then you should also consider clearing the cache and data of NFC services on your smartphone.
How To Clear Cache and Data of NFC Services on Pixel 7 Pro?
- Head over to “Settings” on your phone.
- Next, tap on “Apps” and tap “See all apps”.
- Now, a bit down you will see your app’s label with three lines on the right side of it. Just tap on the “three lines” and then enable the option “Show systems apps”.

- Next, tap on “NFC” and then tap “Storage & Cache”.
- Finally, tap on the option “Clear Cache”.
- After that, reboot your phone to take a fresh start.
For more fixes, follow the complete troubleshooting guide of NFC services on Pixel 7 Pro.
if you are done with the NFC-related fixes and still find the google pay not working, then the issue might be with the Google Pay app. To fix the issue related to the app, head over to the below fixes.
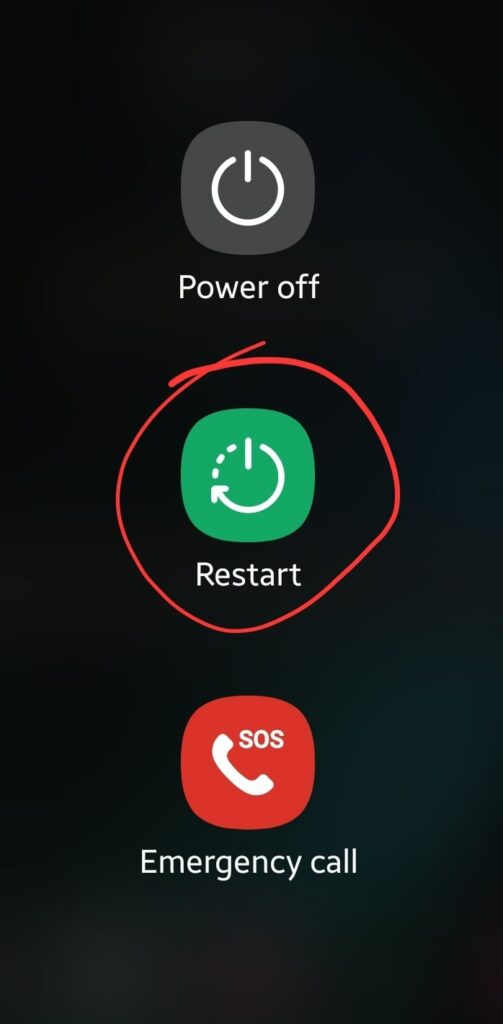
Reboot your Phone
You should start the troubleshooting process with the help of rebooting method. The rebooting process is very effective as it allows your phone to take a fresh start with all the available systems apps and third-party apps.
Therefore, if some apps are stuck in an issue might get over it after rebooting your phone.

- Press and hold the “Power” button until the power option appears on the screen.
- Now, tap the “Power Off” option.
- Once, the phone is turned Off completely, now wait for several seconds and then turn it back ON with the help of the Power button.
Once, the phone boot up again, now check whether the Google Pay app is working properly or not.
Update the Phone Software
Most of the problems occur due to an outdated version of software running on the device. Hence, you need to check for the latest update and if available, then download and install it on your smartphone.

- Head over to “Settings”.
- Scroll down to the bottom and tap “System-> System Update”.
- Further, follow the on-screen instructions to download and install the update (If available any recent updates).
Verify Your Information on Google Pay App
There could also be a possibility that your information available on the Google Pay app might not be correct or that you might have forgotten to confirm it while entering. You should review the information and if found any mistakes, then correct them.
Follow the steps below to verify your information on the Google Pay app:
- Launch the “Google Pay” app.
- Next, tap “Profile Photo” and then “Settings”.
- Now, tap on “Personel information”.
- Here, you will be able to see your all information. For example, if your phone number isn’t correct, then you can edit it and proceed with providing the correct phone number.
The same goes for the bank card information, you can also verify the card info whether it is correct or not. Simply follow the steps below:
- Once you have launched the Google Pay app, simply tap the Pay button at the top-center of the screen.
- Now, all the available cards that you have linked with Google Pay will be shown.
- Tap on the cards one by one to verify the information you have entered is correct or not.
OR
You can also remove the existing card and then simply tap on the “Add a payment method” option. Further, follow the instructions to set up your card by typing in the correct information.
Uninstall Google Pay
If the app is surrounded by issues and you tried hard to fix it but still fails, then uninstalling might be the most suitable solution. Simply, go ahead and remove the app and then make a fresh install.
- Open the apps menu on your phone.
- Long press the Google Pay icon until the pop-up window appears.
- Now, press the “uninstall” option to remove the app.
- Once the app got uninstalled, then re-install it.
- After that, launch it and set it up accordingly from the beginning by providing the correct information.
I hope after the fresh install, Google Pay will start working and you will have no more issues ahead.
Perform Factory Data Reset
Factory data reset is the most effective method that can eliminate any kind of issue. This method wipes all the data and set all the settings to default on your smartphone.
So what you get after performing a factory data reset is the fresh beginning of your smartphone and feels like you have just unboxed it.

Things to consider before Performing a factory data reset:
- Charge your phone.
- Back up your important data.
How To Perform Factory Data Reset on Google Pixel 7 Pro?
- Head over to “Settings-> System”.
- Secondly, tap the “Reset” option.
- Next, tap “erase all data (Factory Reset)”.
- Your phone might also ask you to enter your PIN. Continue with typing the PIN and select “Erase All Data”.
Once, the process gets complete, select the “restart” option, wait until it boots up again, and then set it up accordingly from the beginning.
Conclusion
Are you facing issues with Google Pay app on your Pixel 7 Pro? If yes, then reboot your smartphone on the spot and then try to authenticate using fingerprint unlock when making a contactless payment. Also, make sure Google Pay is selected as the default payment service in the NFC settings of your smartphone.
Moreover, update the Google Pay app and your phone software. If you are still facing issues with the Google Pay app, then perform factory data reset on your Pixel 7 Pro.
