
If you encounter such a situation where you find your OnePlus Nord NFC not working, then you should follow this guide to eliminate the issue. Here, we have covered some proven fixes that will lead you to fix the NFC issue on your smartphone.
NFC refers to “Near Field communication”. This technology allows you to perform several operations between two devices instantly. A bit similar to Bluetooth in functionality but different in nature. NFC also allows you to make contactless payments with the bank card info saved on your phone.
QUICK FIXES
- Unlock the phone while using the NFC feature.
- Your device should be in a range (10 cm) to communicate with other NFC-enabled devices.
- Place the back of your phone on the NFC tag or POS machine and move it slightly.
- Remove the phone case.
- Make the NFC payment app as the default payment service in the NFC settings.
- Update your phone software. Go to “Settings->About the phone->System Updates”
OnePlus Nord NFC Not Working? [Try Out These Fixes]
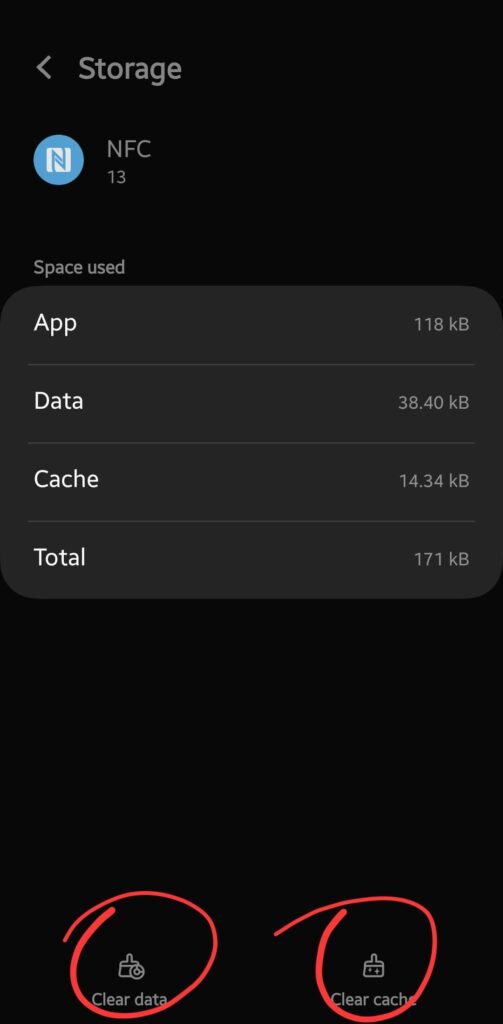
If the NFC is still not working after following the above quick fixes, then try to clear the cache of the NFC feature on your OnePlus Nord.
- Head over to “Settings” on your phone.
- Next, tap on “Apps & Notifications”.
- Further, tap on the “three dots” at the top right and select “Show Systems”
- Search for the “NFC” option in your apps list now and tap it.
- After that, tap “Storage & Cache”.
- Finally, tap on the option “Clear Cache” and “Clear Data” one by one.
- After that, reboot your phone.
After clearing the cache and data of the NFC feature, if you are still having issues on your smartphone, then follow the below fixes one by one until the issue is resolved.
- Activate NFC on your OnePlus Nord
- Soft Reset your OnePlus Nord
- Select Default Payment Service
- Disable Power Saving Mode
- Enable High-Performance Mode
- Perform Factory Reset
Let’s start the troubleshooting process with the help of these fixes:
Activate NFC on your Smartphone
Make sure to enable the NFC on your OnePlus Nord. Before using the NFC feature, you are supposed to turn ON the NFC as it won’t start automatically. You should try toggling it ON/OFF and see if it resolves the issue.
How To Enable NFC on OnePlus Nord?
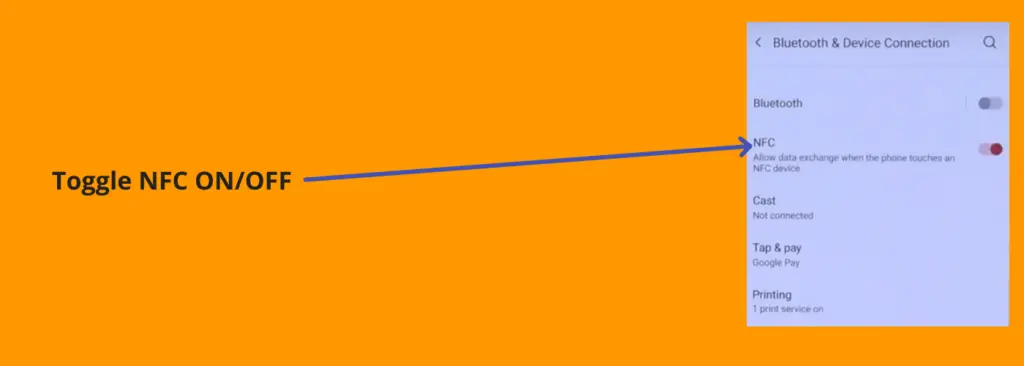
Step 1: Head over to the “Settings”.
Step 2: Next, tap “Bluetooth & Device Connection”.
Step 3: After that, toggle ON/OFF the “NFC” option.
Now, check whether the NFC starts working or not. In case of any problem, proceed to the next method.
Soft Reset your OnePlus Nord
Adopting the soft reset method in the first place whenever you are facing any issue is most recommended. Most of the time, this method standalone succeed in eliminating all the issue you encounter.
How To Perform Soft Reset on OnePlus Nord?
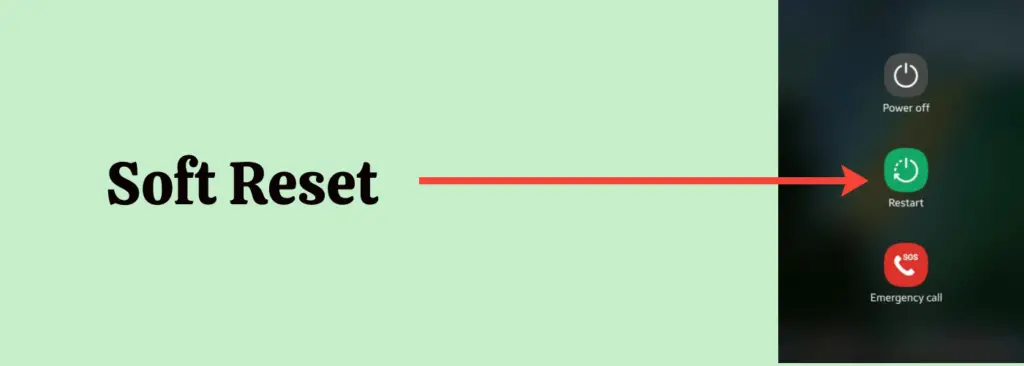
Step 1: Simultaneously, press and hold the “Power” and “Volume Down” buttons.
Step 2: Once, the power options appear on the screen, release all the buttons.
Step 3: Now, tap on the “Restart” option to select and again tap “Restart” to confirm.
Step 4: Wait for a while and your smartphone will boot up in a few minutes.
Disable Power Saving Mode on your OnePlus Nord
If your phone is running on power-saving mode, most of the features that are supposed to be a burden on battery power will be disabled automatically.
This is because the mode’s main focus is to develop an environment that could utilize less battery power, which might result in providing more battery power to consume for long hours.
How To Disable Power Saving Mode on OnePlus Nord?
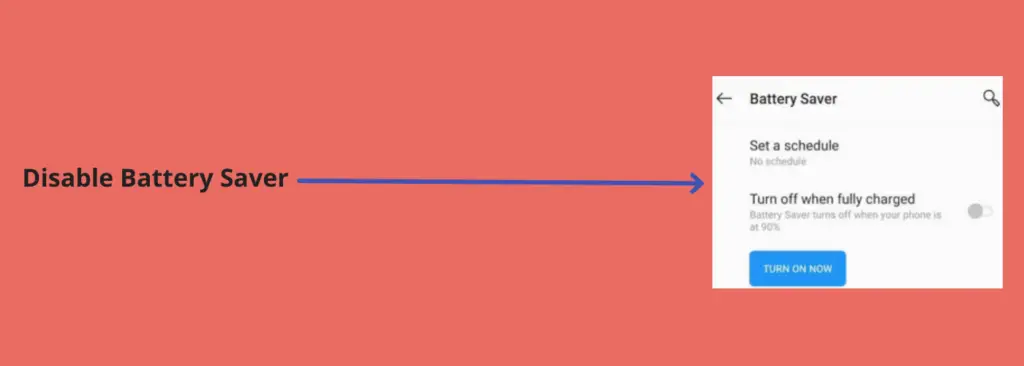
Step 1: Head over to the “Settings”.
Step 2: Next, tap the “Battery” option.
Step 3: Now, you will see the “Battery Saver mode” option. Simply, tap the toggle button to disable it.
Enable High-Performance Mode on OnePlus Nord
You should switch your phone to “High Performance” mode at least at the time when you are using the NFC feature on your smartphone.
This will boost the performance of your smartphone and will let the NFC work properly.
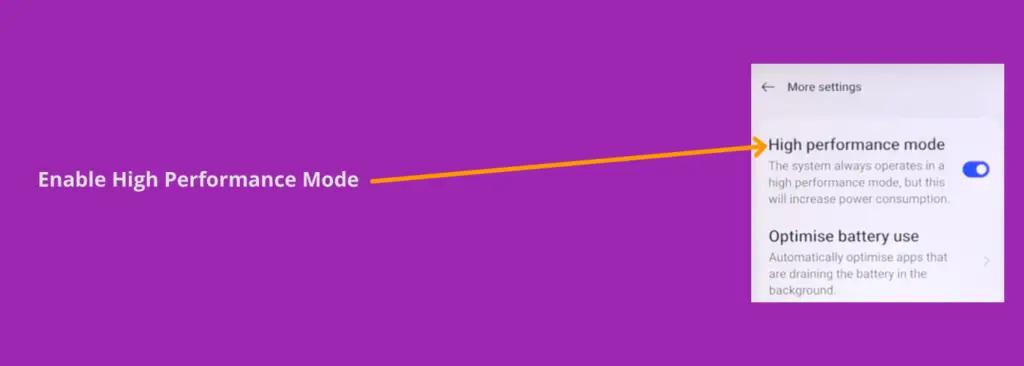
Step 1: Head over to “Settings->Battery”.
Step 2: Tap the “Advanced settings” option.
Step 3: Finally, enable the “High-performance mode”.
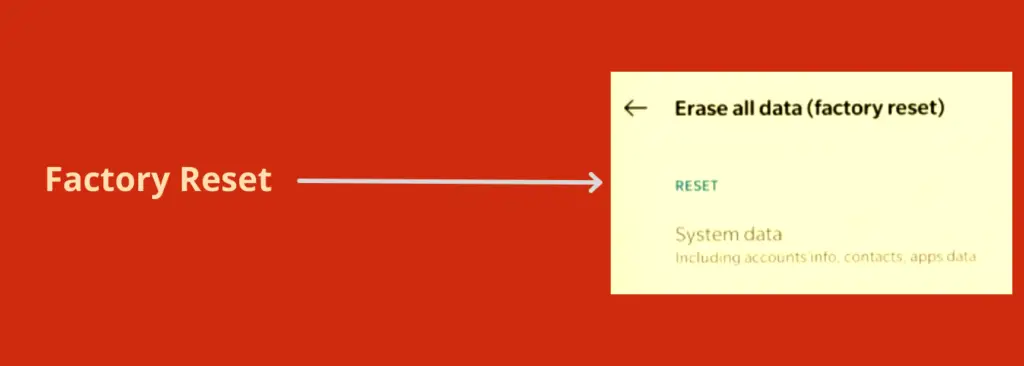
Perform Factory Data Reset on your OnePlus Nord
Factory data reset is the most effective method to eliminate any issue you are encountering. This method wipes all the data and sets all the settings to default on your smartphone.
So what you get after performing a factory data reset is the fresh beginning of your smartphone and feels like you have just unboxed it.
Things to consider before factory data reset:
- Charge your phone.
- Back up your important data.
How To Perform Factory Data Reset on OnePlus Nord?
Step 1: Head over to “Settings” on your smartphone.
Step 2: Next, tap “Systems”.
Step 3: Scroll down to the bottom and you will see the “Reset” option. Just tap on it.
Step 4: Here, you will see various reset options.
Step 5: Tap on the one labeled “Erase all data (factory reset)”.
Step 6: Now, also select the “Erase internal storage” option by tapping the toggle button and then tap the “Reset phone” button at the bottom.
Step 7: Finally, tap the “Erase Everything” button.
Wait for the process to complete, once it finishes, the phone will boot up and will be directed to the Welcome screen. Now, set up your phone accordingly by following the on-screen instructions.
Select your Default Payment Service
If you are unable to make payments using NFC, then you might need to check the default payment method selected for NFC.
When you are going to make a payment using NFC with a particular NFC app and unfortunately it fails suddenly, then you should check whether the particular NFC app is selected as the default contactless payment or not.
Step 1: Head over to “Settings” on your smartphone.
Step 2: Next, tap “Bluetooth & Connections”.
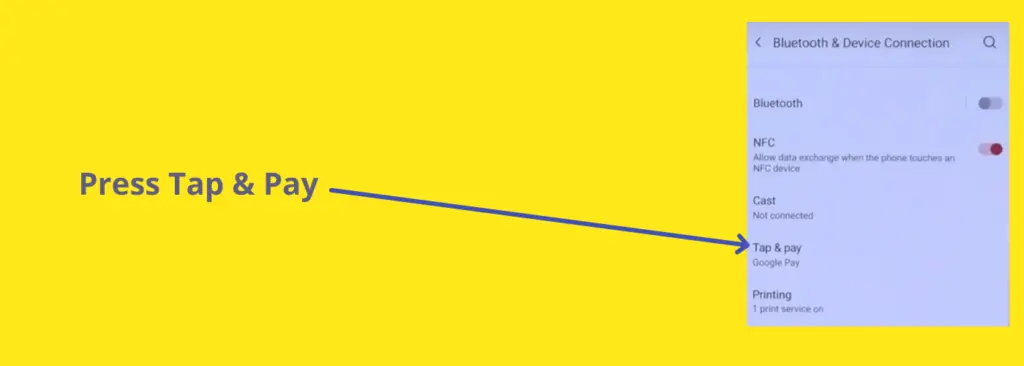
Step 3: Now, enable the “NFC” to visible the “Tap & Pay” option.
Step 4: After that, tap the “Tap & Pay” option.
Step 5: Here, you will find the list of all the available NFC payment-supported apps on your phone.
Step 6: Choose the desired NFC app from the list, you want to use as your default payment service.
Step 7: Finally, follow the on-screen instructions and you are good to go.
Conclusion
We have covered all the fixes in detail to eliminate the NFC-related issues on OnePlus Nord. Before going to step into those detailed fixes, you should try out these things in the first place to check whether the problem gets resolved or still persists.
Perform Soft Reset -> Press and Hold the “Power” and “Volume Down” buttons simultaneously until the power options appear on the screen. Now, select the “Restart” option to reboot your smartphone.
Clear Cache and Data of NFC -> “Settings–> Apps & Notifications->tap on the three-dot icon at the top right->Show Systems apps->NFC->Storage->Clear Cache & Clear Data”. After that, reboot your phone.
If the problem still persists, then you should follow the other fixes covered in detail in this guide to eliminate this issue.
About OnePlus Nord

The phone comes with a 6.44-inch Fluid AMOLED touchscreen display, 1080 x 2400 pixels resolution. Moreover, It runs on Android 10, also upgradable to Android 12 including OxygenOS 12 powered by an Octa-Core processor.
It offers multiple variants regarding storage, 64/128/256 GB with 6/8/12 GB of RAM.
The camera features a Quad 48MP + 8MP + 5MP + 2MP primary lens with Dual-LED flash including other features. In addition, a Dual 32MP + 8MP secondary lens for selfies is available in front.
It is powered by a Li-Po 4115 mAh battery.